Products You May Like

So you’ve got yourself a lovely new Nintendo Switch for Christmas and don’t know how to even begin setting it up? You’ve come to the right place!
In this guide, we’re going to break down all of the things you should do first to help you get set up. That includes setting up a bunch of new accounts, getting the settings right and grabbing any essential accessories to help get the most out of your shiny new Switch or Switch Lite.
Create a user profile
You should be prompted to do this as soon as you turn your Switch on for the first time but we’ll include the steps below all the same:
- Select an icon – this can be a Mii or your favourite Nintendo character. Don’t panic, you can change all of this later.
- Select the background colour.
- Enter your nickname – this can be anything and you can change it later.
- Sign in to your Nintendo Account to link it to the Switch, or follow our instructions below if you don’t have a Nintendo Account yet.
Set up (and link) your Nintendo Account
First things first, let’s set up a Nintendo Account, which will allow you to purchase some lovely digital games on your new Switch and get shiny rewards for doing so!
You can do this on the Switch itself, and we’ve plonked the instructions below:
- Boot up the eShop by hitting ‘A’ on the orange bag icon on the main menu of your Switch.
- Select the ‘User Profile’ that you want to attach your Nintendo Account to.
- Hit ‘Create Account’.
- Hit ‘Send account-creation instructions via e-mail’.
- Fill in your email address.
- Now, open the email you should have received on your laptop/phone/tablet.
- Follow the link in the email and hit ‘An account for myself’ (unless you are, in fact, creating one for a child).
- Fill in your personal information and hit ‘Submit’.
- You should receive a five digit code that you are advised to fill in on your Switch. If you followed the instructions up to step four correctly before, your Switch should be asking for the code. Fill it in and hit ‘OK’.
- Select how often you’d like to fill in your password and you’re good to go! You can now purchase games on the Nintendo Switch eShop.
Bought the Switch / Switch Lite for a child? Then set up parental controls
If you bought a Nintendo Switch or Switch Lite for a young child, you can set up parental controls to protect them from adult content and put limits on Switch play time.
There are two different options: you can restrict specific features on the console itself or control their Switch directly from your smart device using the Nintendo Switch Parental Controls app. This allows you to set play time limits and restrict features, and you’ll get activity notifications to help you keep track of their playing schedule. Here’s how to set it up in steps:
- Choose ‘System Settings’ on the home screen.
- Scroll down to ‘Parental Controls’
- Select whether to ‘Use Your Smart Device’ or ‘Use this Console’
- Select the restriction level. You can either chose a setting that’s already made up, like teen, pre-teen, or child, or set up a completely custom setting.
- For the latter, you can restrict software by age, your child’s ability to post to social media accounts, and their ability to communicate with others.
- If you’d rather use the app, download it from the App Store or Google Play (it’s called ‘Nintendo Switch Parental Controls’ so search for that).
- Boot it up and sign into your Nintendo Account.
- You’ll receive a registration code, which you now have to fill in on your Switch. Repeat steps one to three above and fill it in when prompted.
- Now simply use the app to set parental controls. You can set a daily play limit, use pre-made settings or custom settings for restrictions, and monitor their activity using the app.
Get some games!
If you got a Switch for Christmas, the chances are you got a game or two with it – either bundled in the box or as a nice extra from Santa. If the game is physical, you can pop it straight in the system via a handy flap on the top right of the system (with the label facing you as you hold the system like normal).
How to redeem a digital download code on the Nintendo Switch eShop
If you’ve got a code for a digital game, head on over to the eShop and redeem the code there to download it.
Here’s that process in steps:
- Select the ‘Nintendo eShop’ from the home menu (it looks like an orange shopping bag) to launch the eShop.
- Select the account you want to bind the game to.
- Hit ‘Redeem Code’ on the bottom left of the screen.
- Fill in the game’s code, which should be 16 characters.
- Hit ‘Confirm’.
- That’s it! Your game is redeemed and you should be able to download it right away.
Even if your game is physical, it may require an additional data download. That could be a simple update, which might add new free content to the game or fix bugs, or it could be because all the game’s data doesn’t fit on the cartridge. This is the case for a handful of high profile games like DOOM, NBA 2K19, and L.A. Noire.
How to buy games on the Nintendo Switch eShop
Now, if you don’t have any games for your brand new Switch, let’s go and buy a few in the eShop, eh? Here are the steps:
- Boot up the Switch eShop and select a user profile that has a Nintendo Account linked to it. If you don’t currently have a Nintendo Account, follow our steps above in the ‘Set up (and link) your Nintendo Account’ section to create one.
- Find a game you like the look of and select it by pressing ‘A’.
- You can find games in a variety of different manners by looking in the different sections of the eShop. ‘Recent Releases’ is a chronological list of the most recently released games, ‘Discover’ helps you find the best games the eShop has to offer, ‘Current Offers’ is a list of all of the games on sale, and ‘Charts’ is the current best-selling games. You can also search for a specific game by using the ‘Search’ function at the top left.
- Once on the game page, hit ‘Proceed to Purchase’ and choose your preferred method. You could redeem a ‘Nintendo eShop Card’, use your credit card, or pay via PayPal.
- Now, select how much money you’d like to stick on your eShop account. You can add only the required amount, or add a bit extra if you plan on purchasing a few things.
- Confirm the next few prompts to complete your purchase.
You can only purchase games from the eShop which matches your account region, but it’s perfectly possible to set up dummy accounts and grab games from North America and Japan – follow this guide to find out how.
There are plenty of free-to-play or free-to-start games available on the Switch eShop if you’re short on cash after Christmas. Here’s a selection to get you started:
If you’re after game recommendations, you might want to check out our Switch Essentials lists with the best Switch games across multiple genres below:
Get Nintendo Switch Online so you can play Splatoon 2, Mario Kart 8 Deluxe, and more online
Nintendo Switch Online is the subscription service for Nintendo Switch which you need in order to play multiplayer games online, grab exclusive offers, and access a selection of NES and Super NES games. Free-to-play games DO NOT REQUIRE a Nintendo Switch Online subscription, but you’ll need one if you plan to play games like Mario Kart 8 Deluxe or Splatoon 2 over the internet.
Setting up Nintendo Switch Online is surprisingly easy. Simply go to the eShop and scroll down to ‘Nintendo Switch Online’ on the left. Here, you can either start the seven-day free trial or set up a membership plan.
You can either set up an individual membership, for a single user, or family membership, if you have two or more Nintendo Switch owners in your household – the latter allows you to get a Switch Online account for very little cash. You can pay monthly, quarterly, or annually for an individual membership or yearly for a family membership.
To learn more, check out our Nintendo Switch Online FAQ. For step-by-step instructions on how to set up a Nintendo Switch Online Family Membership, check out our guide.
Increase your storage space with a micro SD card
If there’s one area in which the Switch falls short, it’s in its internal storage space. The 32GB that it comes with – around 25GB which is actually accessible by the user – will fill up quickly with updates, games and DLC.
So, it’s a good idea to grab yourself a micro SD card. These come in a variety of different sizes, all the way up to 1TB, although that’ll cost you a pretty penny. Thankfully there are some very affordable options around the 200GB mark, which will be more than enough to store a whole bunch of games.
Check out our guide for the best Nintendo Switch micro SD card deals.
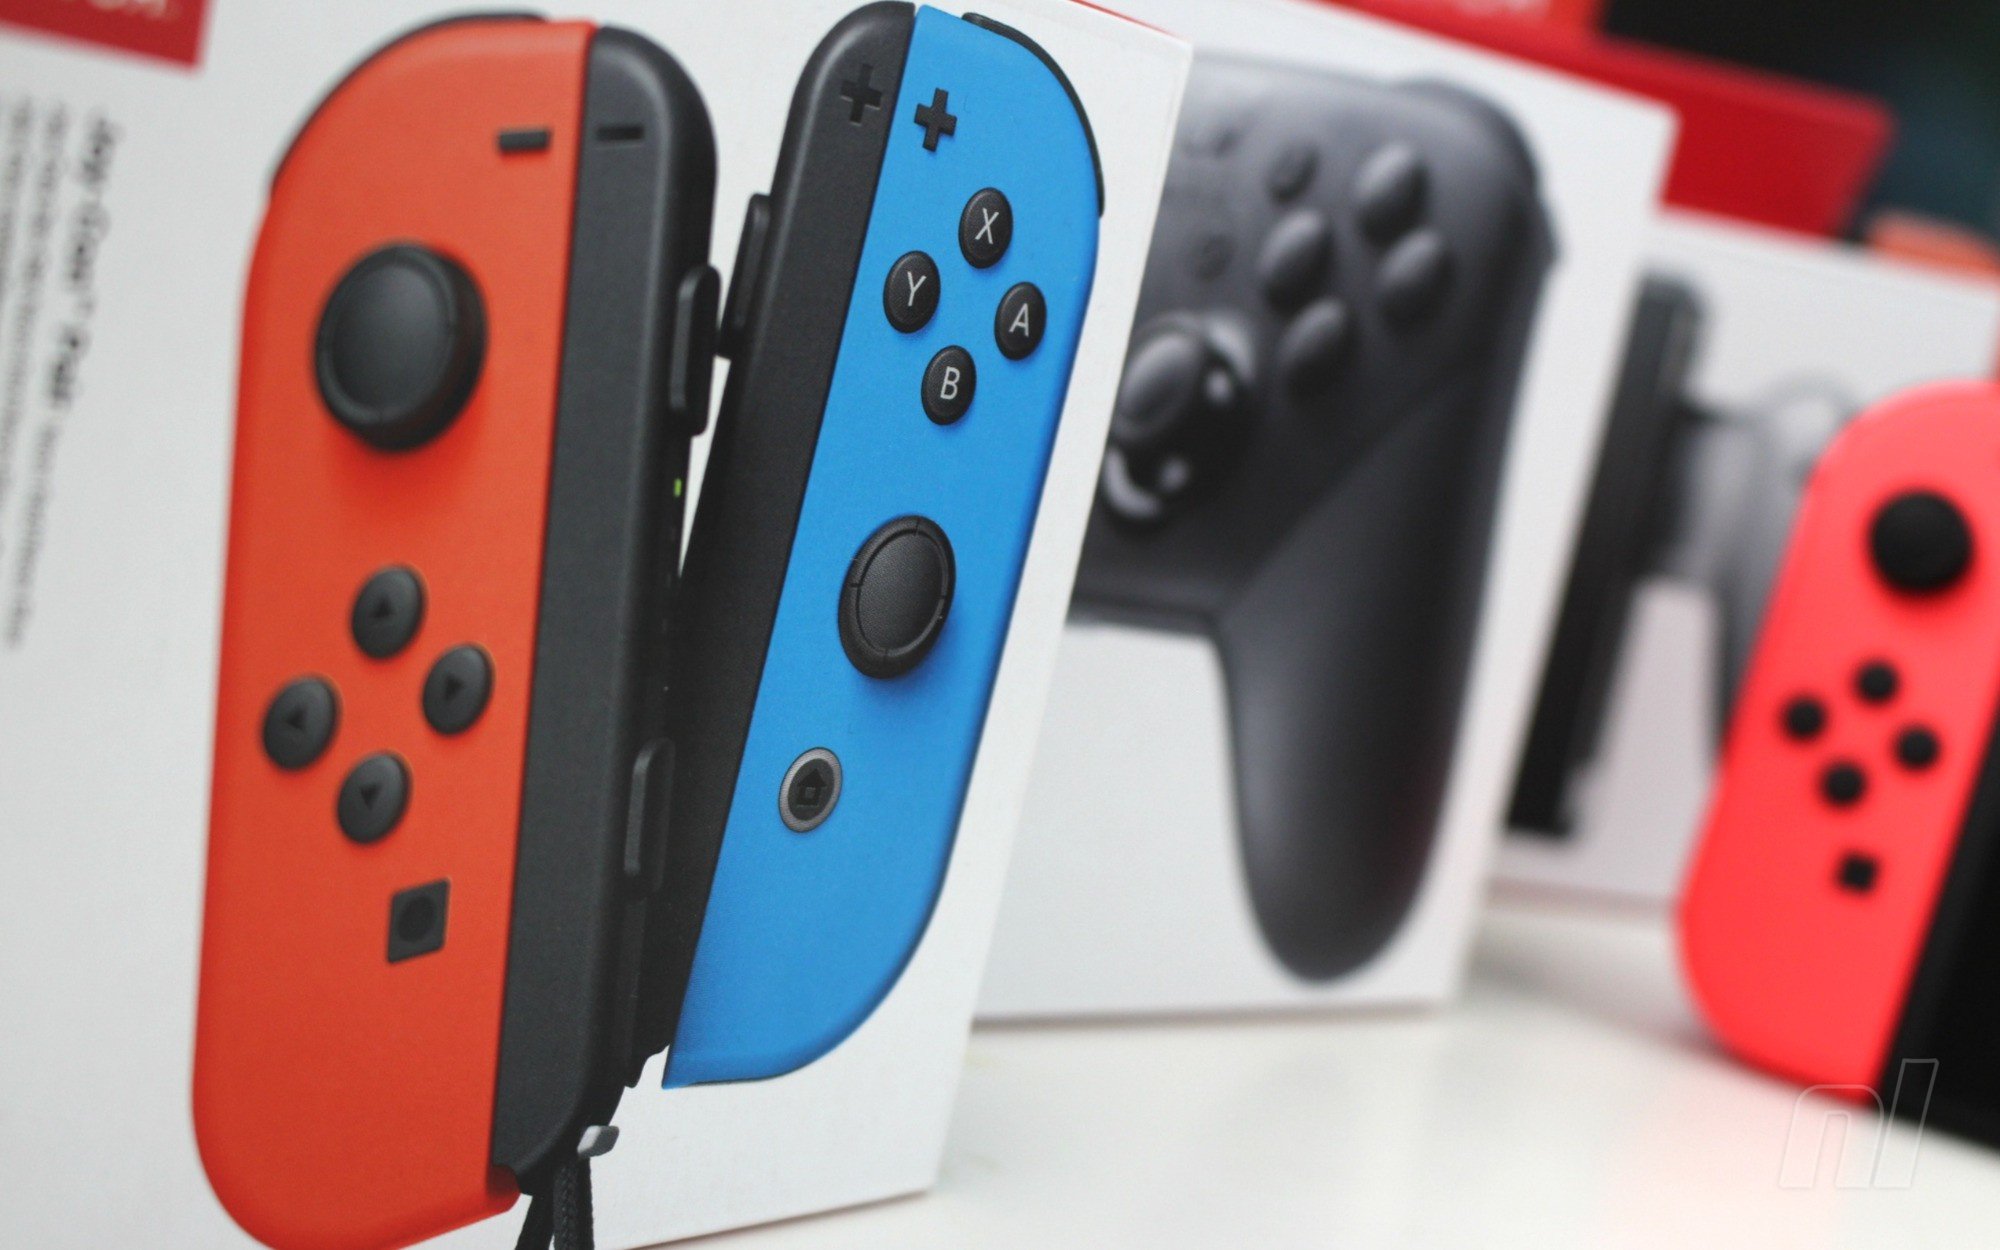
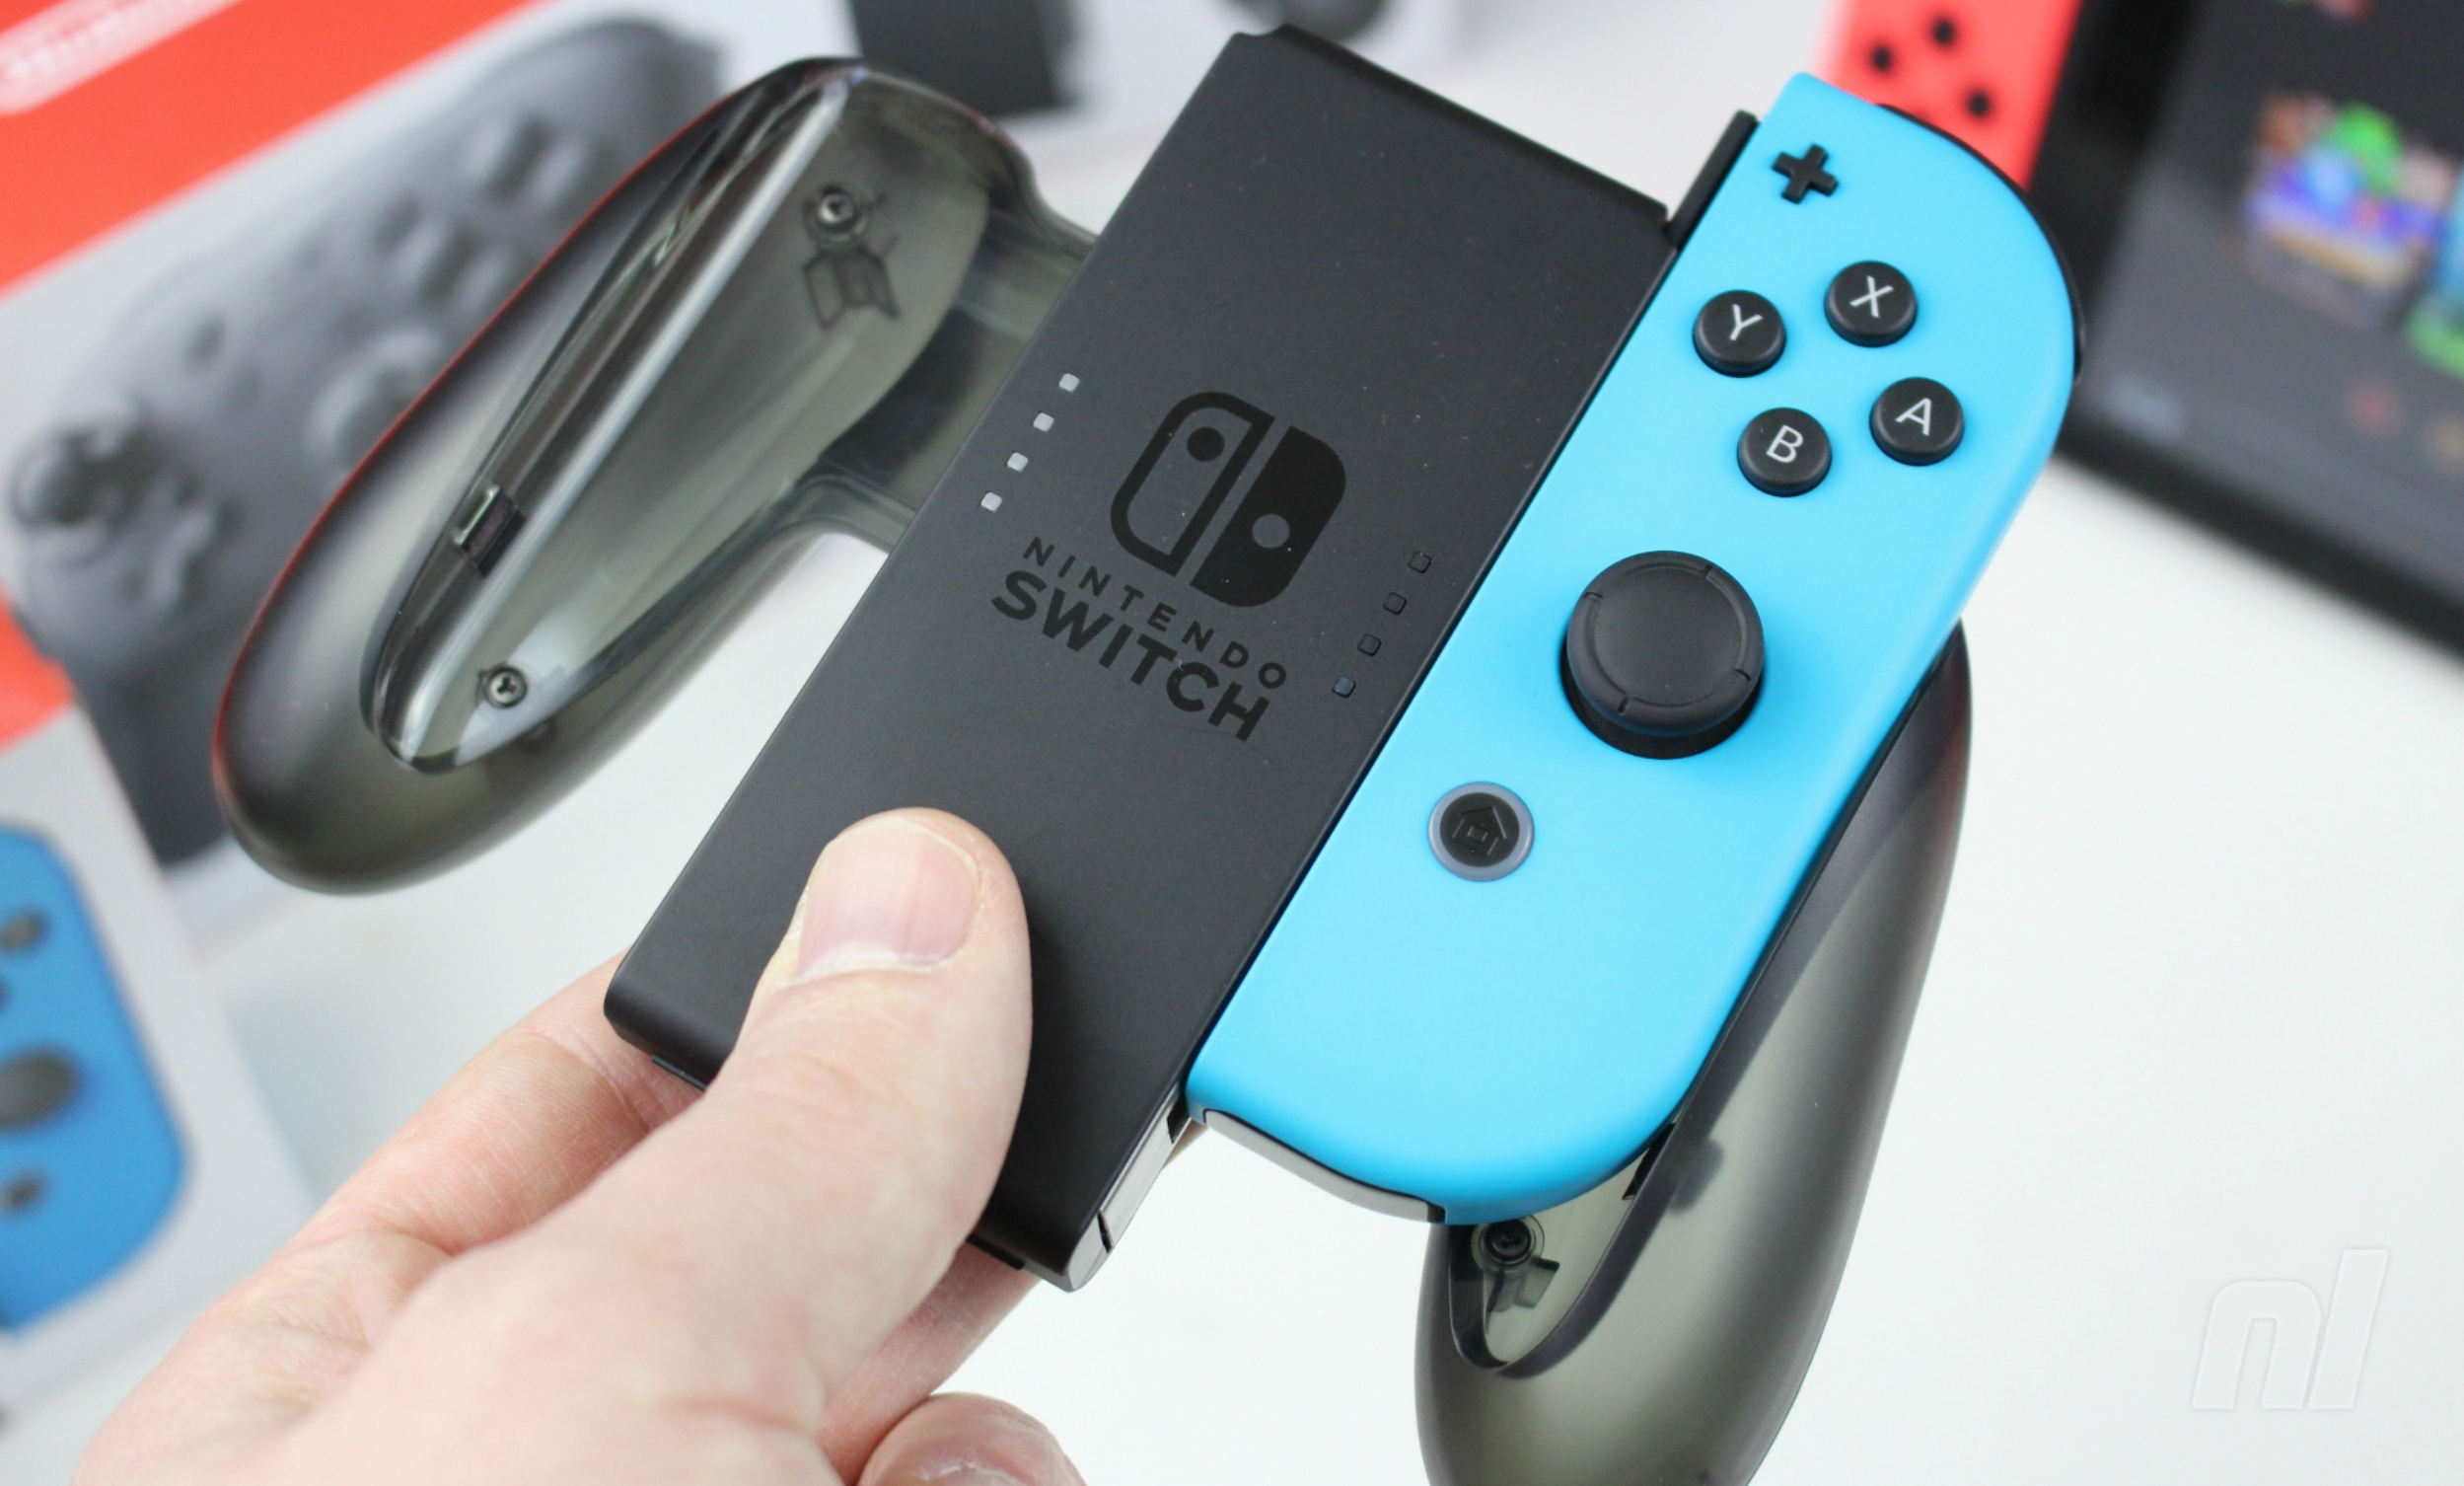
Accessorise!
The Nintendo Switch is such a nifty little device, capable of three different methods of play and the ability to play wherever you want, whenever you want, however you want. As such, it’s absolutely ripe for customisation. If you’ve gone for the portable-only Switch Lite, there are still plenty of accessories available to help you get the most out of the lovely little system.
Whether you want a more comfortable Pro controller to use while plonked on the sofa, a nice case to keep it scratch free in your bag, a nifty micro SD card to increase your storage space, a Joy-Con controller with an inbuilt D-pad or a Mario Kart Pro Mini or Deluxe Racing Wheel to make those races even more intense, we’ve got the best recommendations in our massive accessories guide.
For more information on games, accessories and the differences between Switch and Switch Lite, you might want to check out our Parent’s guide to the Switch consoles, or find out which games don’t work on Switch Lite.